Let's be honest. The thought of cooking a full meal after a day of hiking or setting up camp can kill the vibe. You're tired, maybe it's getting dark, and the last thing you want is a complicated recipe that dirties every pot you own. I've been there. I've also had trips where dinner was the highlight—a satisfying, flavorful meal that felt like a reward. The difference? Planning. Not military-style planning, but smart, simple strategies that turn cooking from a chore into part of the fun.
This guide isn't about fancy Dutch oven artistry (unless you want it to be). It's about reliable, tasty camping dinner ideas that work for real people with limited gear, time, and cooler space. We'll cover how to think about meals before you go, the gear that actually matters, and specific recipes you can trust.
Your Camping Dinner Roadmap
The Foundation: Planning Your Camping Dinner Strategy
Jumping straight to recipes is a mistake. First, ask three questions.
What's your cooking method? Will you have a fire pit with a grill grate? A reliable two-burner camp stove? Just a single backpacking stove? Your answer dictates everything. A full fire gives you options for foil packets and grilling. A single burner means one-pot meals are your best friend.
What's your cooler situation? Are you car camping with a massive cooler you can restock with ice? Or are you trying to minimize ice melt and weight? This decides if you can bring fresh meat for day 2 or 3, or if you should rely on shelf-stable proteins like canned beans, sausages, or pre-cooked meats.
What's the group vibe? Cooking for hungry kids requires speed and simplicity. A couples trip might allow for a more involved, fun recipe. Solo camping? It's all about efficiency and minimal cleanup.
My Non-Negotiable Rule: For any trip longer than a weekend, at least one dinner must be 100% make-ahead. Think a hearty chili or stew frozen solid in a container—it acts as extra ice in the cooler for days and simply needs reheating on your first exhausted night. It's a game-changer.
Essential Gear for Campfire & Camp Stove Cooking
You don't need a kitchen box. You need a few good pieces.
A cast iron skillet is the undisputed champion. It works on a stove, over coals, or on a grill grate. It's non-stick when seasoned, and you can cook everything in it. Yes, it's heavy. For car camping, it's worth it.
One large pot with a lid (around 3-4 quarts) for boiling water, pasta, rice, soups, and one-pot wonders.
A sturdy spatula and tongs. Flimsy tools break and frustrate.
Heavy-duty aluminum foil and resealable silicone bags. Foil is for packets and makeshift lids. Silicone bags are for marinating, storing pre-chopped veggies, and avoiding leaky plastic disasters.
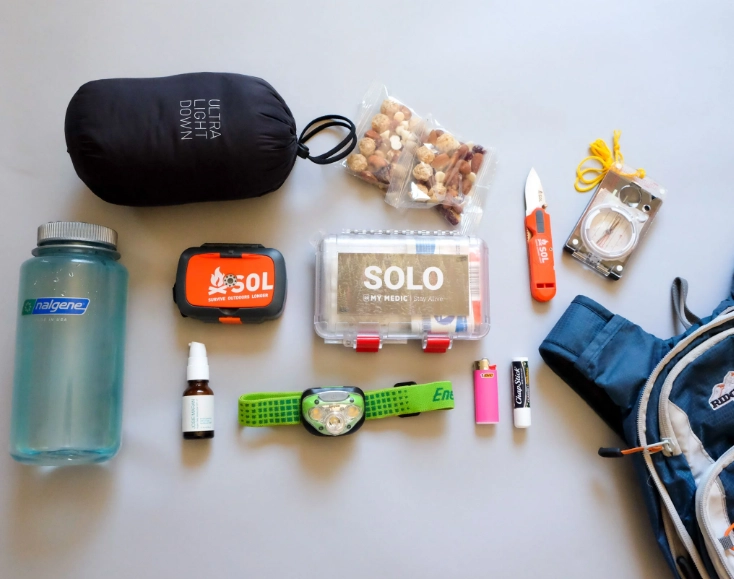
Here's what most lists forget: a small plastic cutting board and a good headlamp. Trying to chop an onion on a wobbly picnic table in the dark is an adventure you don't want.
Camping Dinner Ideas: From Simple to Gourmet
Here are categories based on effort and prep. Mix and match based on your trip.
1. The Quick & Satisfying Classics
These require minimal prep and are universally loved.
Campfire Quesadillas
Why it works: Customizable, cooks in minutes, minimal cleanup. On-Site Process: Butter the outside of tortillas. Fill with shredded cheese, canned black beans (drained), and pre-cooked rotisserie chicken. Cook in your skillet over medium heat until golden and melted. Serve with salsa from a jar and pre-made guacamole in a squeeze pack. Pro Move: Add a layer of canned green chiles for a flavor boost.
One-Pot Sausage & Veggie Orzo
Why it works: One pot, one spoon, hearty. On-Site Process: Brown sliced pre-cooked sausage (like kielbasa) in your pot. Add a chopped onion and bell pepper (pre-chopped at home). Stir in a cup of orzo pasta, two cups of broth (use bouillon cubes), and a can of diced tomatoes. Bring to a boil, then simmer covered for 10-12 minutes until orzo is tender. Stir in a handful of spinach at the end.
2. The Make-Ahead Heroes
Prepare these at home, freeze or chill, and just reheat.
Freezer Bag Chili
Home Prep: Brown ground turkey or beef. Add to a gallon freezer bag with two cans of beans (kidney, pinto), two cans of diced tomatoes, a small can of tomato paste, and your chili spices (cumin, chili powder, garlic powder). Squeeze out air, seal, lay flat to freeze. At Camp: Thaw in cooler or add frozen block to your pot with a little water. Heat through. Top with crackers or pre-shredded cheese.
Marinated & Pre-Skewered Kebabs
Home Prep: Cube chicken or steak. Place in a silicone bag with a store-bought Greek or Italian dressing marinade. In separate bags, pack skewers with alternating chunks of onion, bell pepper, mushrooms, and cherry tomatoes. At Camp: Thread the marinated meat onto the veggie skewers. Grill over fire or camp stove grill pan for 10-15 minutes. Serve with pre-cooked rice from a pouch.
3. The “Impress Yourself” One-Pot Wonders
A little more involved, but the payoff is huge.
Coconut Curry Lentils
On-Site Process: Sauté a diced onion in oil. Add a tablespoon of curry powder and stir for 30 seconds. Pour in a can of coconut milk, a cup of red lentils (they cook fast), and a cup of water. Simmer covered for 15-20 minutes until lentils are soft. Stir in a bag of pre-washed baby spinach at the end. Serve with naan bread warmed over the fire. Why it's special: Creamy, flavorful, vegan-friendly, and feels luxurious.
Pro Tips for Flawless Camping Meals (From Hard-Won Experience)
I learned these the hard way so you don't have to.
Pre-chop everything. At home, chop onions, peppers, garlic. Store them in small containers or silicone bags. You'll avoid bringing a whole knife set and save tons of time.
Repackage your ingredients. Ditch bulky boxes. Pour pasta, rice, spices into labeled bags or small containers. It saves space and reduces trash.
Oil your grill grate. Before you put food on a campfire grill, take a folded paper towel, grab it with tongs, dip it in oil, and rub it over the hot grate. It prevents 90% of sticking.
The cooler hierarchy. Pack your cooler in reverse order. Drinks and snacks for day 1 go on top. The make-ahead frozen meal and raw meat for your last night go at the very bottom, surrounded by ice. This minimizes digging and keeps the coldest items coldest.
My biggest mistake? Trying to cook a fancy salmon fillet on a brand-new, poorly seasoned cast iron pan over a raging fire. It welded itself to the surface. Dinner was crackers. The lesson: test your gear and recipes at home first. Do a backyard trial run with your stove.