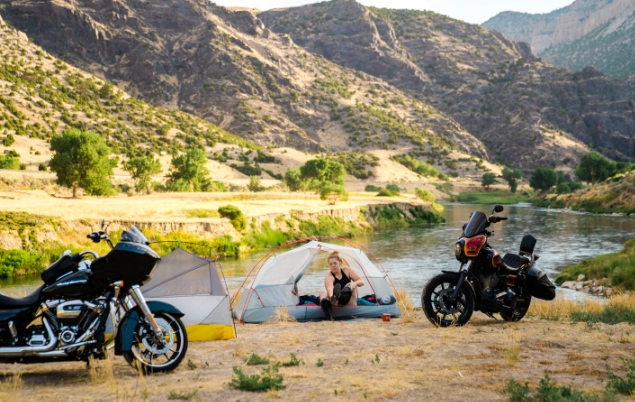
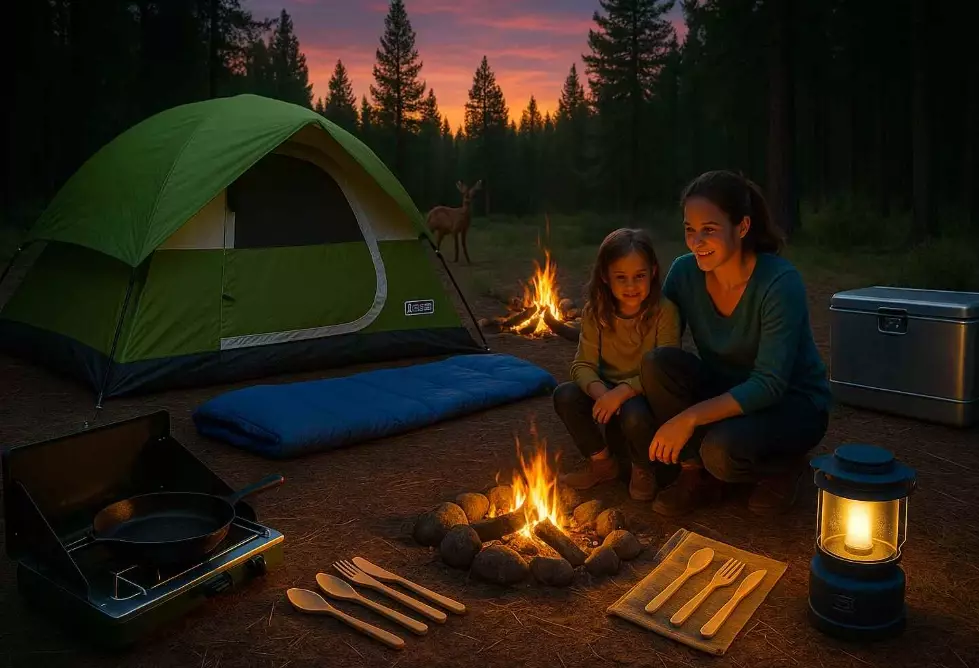
Let's be honest. The dream of hitting the open road in your camping car often crashes into the reality of actually setting it up. You're staring at an empty van or a new RV, and the sheer number of decisions—from where to put the bed to how much battery you need—feels paralyzing. I've been there. I've also made every mistake in the book, from installing a sink that was uselessly small to running out of power on a cold night. This guide cuts through the noise. It's not about the most Instagrammable build; it's about creating a functional, reliable setup that makes camping effortless, whether you're in a converted van or a Class C motorhome.
Your Setup Roadmap
Phase 1: The Planning Mindset (Before You Buy Anything)
Most people jump straight to buying a fancy fridge or solar panels. That's a sure way to waste money. Your first tool shouldn't be a drill; it should be a notepad.
Start by asking brutally honest questions about how you'll really use the vehicle. Is this for weekend surf trips where wet gear is a constant? Then your layout needs a dedicated, ventilated "wet zone" with drainage, not just a cute throw rug. Are you a digital nomad? Your power needs and desk space become the central focus, not an afterthought.
Sketch your layout on graph paper. One square = one foot. This forces you to confront spatial reality. That dream of a full-size shower, a queen bed, and a giant kitchen? In a standard van, you can realistically pick two. I learned this the hard way by trying to cram in a bulky cassette toilet that made the entire living space feel cramped. I replaced it with a more compact, portable option and gained precious inches for storage.
Pro Tip from the Field: Live in your empty vehicle for a weekend. Park it in your driveway or a local campground. Use camping chairs, a cooler, and sleeping bags. This "mock camping" reveals flow issues you'd never see on paper—like where you naturally drop your keys or how annoying it is to have to move everything to make the bed.
Phase 2: The Non-Negotiable Gear Checklist
This isn't an exhaustive list of every gadget. It's the core system that makes living possible, broken down by function. Think of these as the foundation. You can add the espresso machine later.
Sleep System: Your Sanctuary
This is non-negotiable. A bad night's sleep ruins a trip. Your choice depends heavily on your layout. A fixed bed is luxurious but eats space. A convertible dinette or sofa bed saves space but is a daily chore. I'm a fan of a dedicated, fixed platform bed with storage underneath ("garage" space) for longer trips. For weekenders, a high-quality, tri-fold mattress that turns the rear into a bed works well.
Prioritize a mattress designed for campers, not your old house mattress. They're built to handle moisture and varying temperatures. Add blackout window covers (DIY with Reflectix and fabric, or commercial) and a roof vent fan like a Maxxair or Fantastic Fan. That fan is arguably more important than air conditioning for comfortable sleep.
Kitchen & Water Setup: The Heart of the Camp
Keep it simple. A two-burner propane stove (like a Camp Chef Everest) is reliable and powerful. Build or buy a slide-out kitchen module to save counter space. Your sink size matters more than you think—a tiny bar sink is frustrating for washing a pan. A 15"x15" single basin is a good minimum.
For water, start with a simple 5-7 gallon portable jug with a spigot for drinking water and a separate jug for greywater. Permanent plumbing with pumps and tanks is a project for later. A 5-gallon water jug and a collapsible basin for dishwashing is a foolproof, zero-breakdown system for beginners.
| System | Basic/Starter Setup | Intermediate/Upgraded Setup | Consideration |
|---|---|---|---|
| Power | Jackery/EcoFlow power station (300-500Wh), charged via 12V socket while driving. | 200Ah Lithium (LiFePO4) battery, 200-400W solar, DC-DC charger, inverter. | Overestimating solar needs. 200W is often enough for lights, fan, phone charging. Fridge is the big draw. |
| Food Storage | High-quality cooler (Yeti, RTIC) with block ice. | 12V compressor fridge (45-65L). Dometic CFX or ICECO popular. | Cooler ice management is a daily task. A fridge is a game-changer for convenience. |
| Organization | Plastic bins of various sizes, tension rods for hanging, over-door hooks. | Custom-built cabinets with drawers, pegboard tool walls, under-seat storage. | Everything needs a dedicated "home" or clutter takes over in 2 days. |
Phase 3: The On-Site Setup Process That Saves Time
You've arrived at your spot. A chaotic 45-minute scramble to get settled kills the vibe. Follow this order to be sipping a drink in 15 minutes flat.
1. Park & Level: Position your vehicle. Use leveling blocks under the tires if needed. A simple bubble level on the dashboard works. An unlevel bed makes for poor sleep and a fridge that might not work correctly.
2. Secure & Safety: Put the vehicle in park, set the parking brake. Chock the wheels. This is basic, but I've seen an RV roll slightly on a slight incline. It's terrifying.
3. Power & Climate: If you have hookups, connect shore power. If not, turn on your battery disconnect switch. Immediately open windows or roof vents for airflow. Turn on the exhaust fan if it's hot.
4. Deploy the Essentials: Slide out your kitchen module. Set up your outdoor rug and camp chairs. Unfold the table. This instantly creates your living space.
5. Interior Ready: Convert your seating to a bed if needed. Put out the sleep pillows and bedding. Organize the kitchen bin so the coffee maker is accessible for the morning.
Having a mental (or physical) checklist for arrival and departure prevents you from leaving something behind or driving off with the roof vent still open.
The 3 Most Common Setup Mistakes (And How to Dodge Them)
After helping dozens of friends set up their rigs, I see the same patterns.
Mistake 1: Prioritizing Power Over Ventilation. People drop thousands on a massive solar and battery system before addressing airflow. A hot, stuffy vehicle is miserable. A $150 roof vent fan is the single best comfort purchase you can make. It pulls out heat, moisture, and cooking smells. Do this first.
Mistake 2: Overbuilding the Kitchen. You don't need a full oven and a microwave. Most meals are one-pot wonders. A great cutting board, a sharp knife, and a sturdy single-burner or two-burner stove will handle 95% of your cooking. I built a beautiful butcher-block countertop that was heavy and required constant maintenance. A lightweight, waterproof laminate would have been smarter.
Mistake 3: Ignoring Weight Distribution. This is a safety issue. The RV Industry Association (RVIA) provides guidelines, but the rule of thumb is to keep heavy items (batteries, water jugs) low and centered between the axles. Loading all your gear in the rear overhang can make steering dangerously light. Weigh your vehicle at a CAT scale once you're loaded.