Let's be honest. Most advice on building a camping shelter is written by people who've only done it in their backyard on a sunny afternoon. I learned the hard way, shivering under a sagging tarp in a Scottish downpour, that there's a massive gap between theory and a storm-ready refuge. Over a decade of backpacking, from the damp forests of the Pacific Northwest to the windy ridges of the Alps, has taught me that shelter building isn't about following a pretty picture—it's about understanding principles that work when everything is wet, dark, and you're tired.
The goal isn't just to get something over your head. It's to create a microclimate that keeps you dry, blocks the wind, retains warmth, and lets you sleep so you can enjoy the next day. A good shelter is your first line of defense and your most valuable piece of "equipment," even if you built it from a $20 tarp.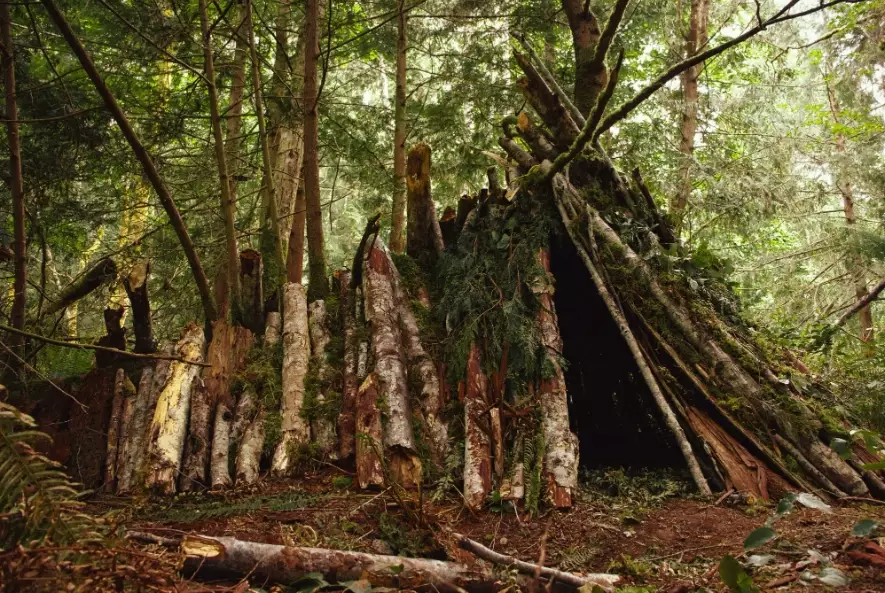
What You'll Learn in This Shelter Building Guide
- The Mindset Shift: From Camper to Shelter Builder
- Choosing Your Shelter Materials: A Real-World Comparison
- How to Build a Camping Shelter: The 5-Step Method
- Beyond the A-Frame: Advanced Tarp Configurations
- 5 Common Shelter Building Mistakes (And How to Fix Them)
- Your Shelter Building Questions, Answered
The Mindset Shift: From Camper to Shelter Builder
Stop thinking about "pitching a tent" and start thinking like an architect of a tiny, temporary house. Your site is the foundation. Your tarp or natural materials are the walls and roof. The weather forecast is your building code. This shift changes everything. You start looking at the landscape differently—not for a flat spot, but for opportunities and protections.
A common trap is prioritizing flat ground over everything else. I've seen people set up in a beautiful, flat meadow that turned into a shallow pond at 2 AM. The ground felt firm when they arrived, but they missed the subtle slope that channeled all the surface water right to them.
Choosing Your Shelter Materials: A Real-World Comparison
Your choice dictates what you can build. Here’s a breakdown based on weight, weather resistance, and skill needed.
| Material | Best For | Weight & Packability | Key Limitation | My Personal Take |
|---|---|---|---|---|
| Silnylon or Polyethylene Tarp | Versatile, fair-weather to stormy setups. The gold standard for learning. | Light to moderate. Rolls up small. | Requires cordage and stakes (and knowledge of knots). | My go-to for 90% of trips. A 8'x10' tarp is the sweet spot. |
| Emergency Space Blanket (Mylar) | Ultralight emergency kit, windbreak, or supplemental rain layer. | Extremely light, packs tiny. | Incredibly fragile, very noisy, condensates heavily. | Don't rely on it as a primary shelter. It's a last-resort signal and vapor barrier. |
| Ultralight Bivy Sack | Fast, minimalist shelter for known dry conditions or as a bug net. | Very light. | Claustrophobic, terrible in prolonged rain (condensation). | I use one under a tarp for bug protection. Alone, it feels like sleeping in a wet plastic bag if humidity is high. |
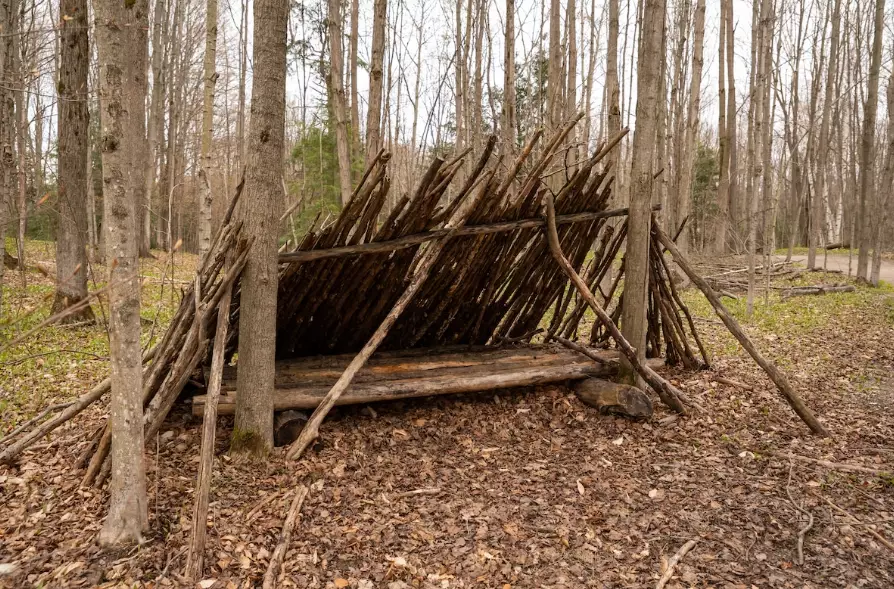
| Natural Materials (Debris Hut) | True survival situations when you have no gear. | You carry nothing. | Extremely labor-intensive, time-consuming, often not fully waterproof. | A fun skill to practice, but in a real pinch, you'll expend more calories building it than you'll save. Prioritize signaling for rescue. |
| Hammock with Rainfly | Forested areas with good tree spacing. | Moderate (hammock, straps, fly). | Useless above treeline or in deserts. Requires underquilt for cold weather. | Unbeatable for comfort on uneven ground, but it's a system, not a simple shelter. The learning curve is steeper. |
I always carry at least 50 feet of paracord and 6-8 sturdy tent stakes, even with a tent. They're the multi-tool of shelter building.
How to Build a Camping Shelter: The 5-Step Method
Let's build a classic, storm-worthy A-frame tarp shelter. This is your bread and butter.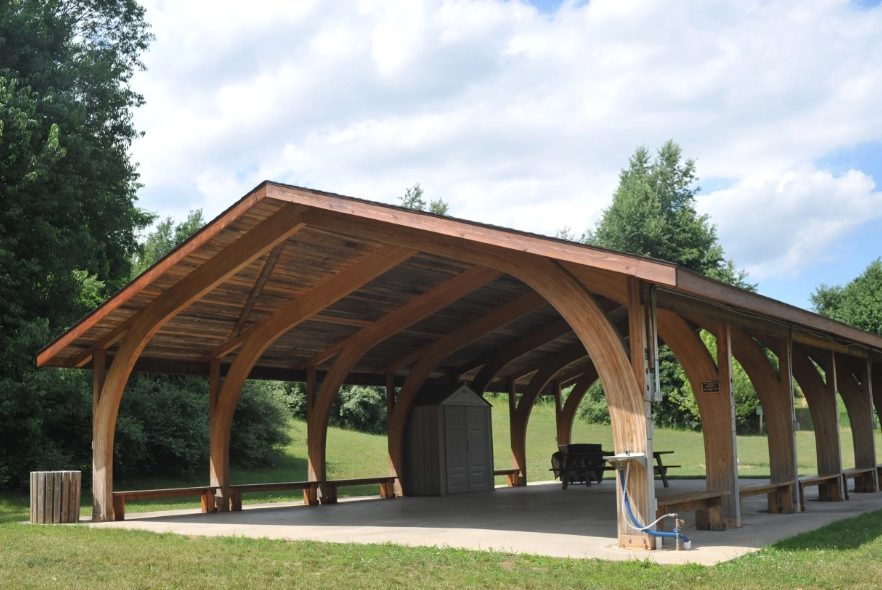
Step 1: Site Selection – It's Not Just About Flat Ground
Look for these features, in this order:
- High Ground & Drainage: Even a slight elevation prevents water pooling. Look for natural runoff paths and avoid them.
- Wind Direction: Face the narrow, low end of your A-frame into the prevailing wind. Check treetop movement.
- Overhead Hazards: No dead branches ("widowmakers"), not under a single tree in a lightning storm. The U.S. Forest Service has great guides on campsite safety.
- Proximity to Resources: Near water, but at least 200 feet away to protect the source and avoid bugs/flooding.
Step 2: The Ridge Line – Your Shelter's Spine
This is the most common point of failure. Don't just tie it between two trees. Use a taut-line hitch or a trucker's hitch on one end. This lets you tighten it after the tarp is on, and it's adjustable if the line stretches overnight. I see people use a simple overhand knot and wonder why their shelter sags like a hammock by morning.
Step 3: Draping & Securing the Tarp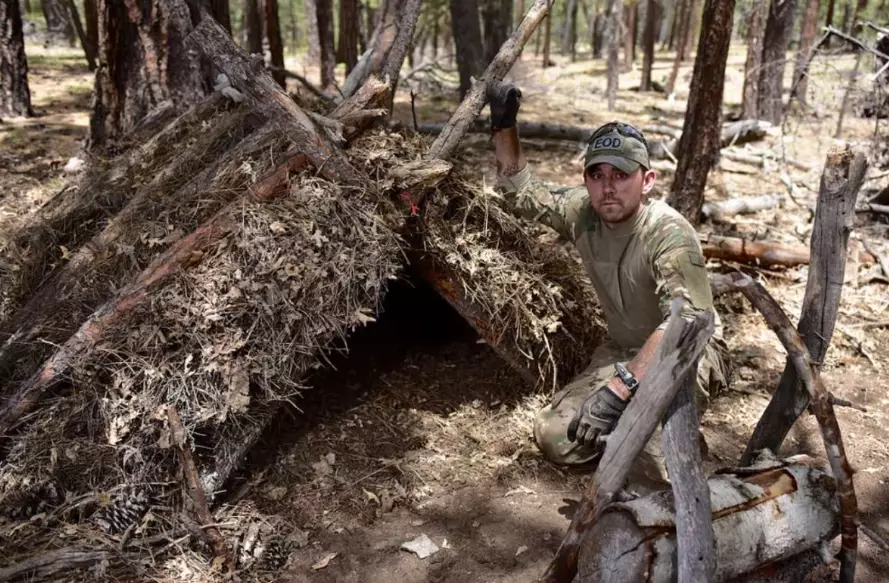
Drape the tarp evenly over the line. Now, get the four corner guylines out first. Don't pull them drum-tight yet. Just stake them out at a 45-degree angle from the corner. This establishes the basic shape.
Step 4: Adjusting Tension – The Secret to a Drum-Tight Shelter
Here's the non-consensus part. Work in a diagonal pattern, not round-and-round. Tighten the front left corner, then the rear right corner, then front right, then rear left. This balances tension across the whole structure. Now go to your ridge line and tighten that hitch. You should hear a satisfying *thump* when you flick the tarp.
Step 5: Fine-Tuning & Adding Doors
If you have extra cord, create "doors" by tying back the open triangle ends. In bad weather, you can stake these down almost completely closed, leaving just a small vent at the top to reduce condensation. Always leave some airflow.
Beyond the A-Frame: Advanced Tarp Configurations
The A-frame is great, but it's not always right.
The "Flying Diamond" or Lean-to: Perfect for a view, light rain, and starry nights. Tie one corner high to a tree, stake out the opposite corner low, and spread the sides. It has massive coverage on one side but minimal protection on the other.
The "Closed-End" or Storm Haven: My choice for heavy, wind-driven rain. You use trekking poles or sticks to lift the center of the tarp at one or both ends, creating a semi-enclosed, coffin-like shape with very low wind profile. It's not spacious, but you'll stay dry when others are bailing.
The "Plow Point": Fantastic for combining sleeping space with a covered cooking/gear area. It looks like an asymmetrical diamond and requires more stakes, but it turns your shelter into a 2-room apartment.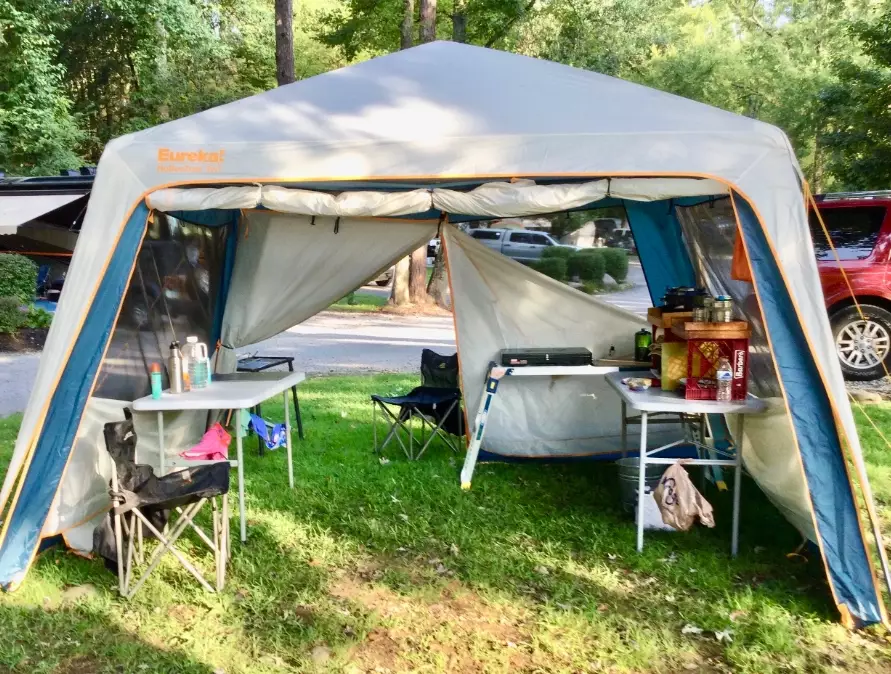
5 Common Shelter Building Mistakes (And How to Fix Them)
- The "Swimming Pool" Site: Fix: Run your hand over the ground. If it feels spongy or you see a bowl shape, move. Look for animal trails—they often know the dry paths.
- Saggy Ridge Line Syndrome: Fix: Use a proper tensioning knot. Practice the taut-line hitch and trucker's hitch at home. They're more valuable than any fancy gear.
- Stakes Perpendicular to the Ground: They pull out easily. Fix: Always angle stakes at 45-60 degrees away from the shelter, so the force pulls them deeper into the soil.
- No Drip Lines: Rain runs down your guylines and right under your tarp. Fix: Tie a simple overhand knot in the cord about 2 inches above the stake. The water drips off there.
- Forgetting About Condensation: A sealed, non-breathable shelter will rain on you from the inside. Fix: Always ensure at least two opposing vents, even if just a crack. A small gap high up makes a huge difference.
Your Shelter Building Questions, Answered
What's the absolute minimum I need to build an emergency shelter if I get lost?
A 5x7 foot emergency poncho or space blanket and 20 feet of cordage. With that, you can make a basic lean-to against a log or rock wall. Your primary focus should be insulation from the ground—pile up dry leaves or pine needles—as you lose most heat through conduction. Shelter from wind and rain is second.
How do I reinforce a tarp shelter in strong winds?
Lower the profile. Re-stake everything with the tarp edges much closer to the ground. Add extra guylines to the middle of the tarp's sides, not just the corners. Weigh down the edges inside with your backpack or rocks. If it's really howling, take down the ridge line and configure the tarp as a storm haven, directly on the ground if necessary.
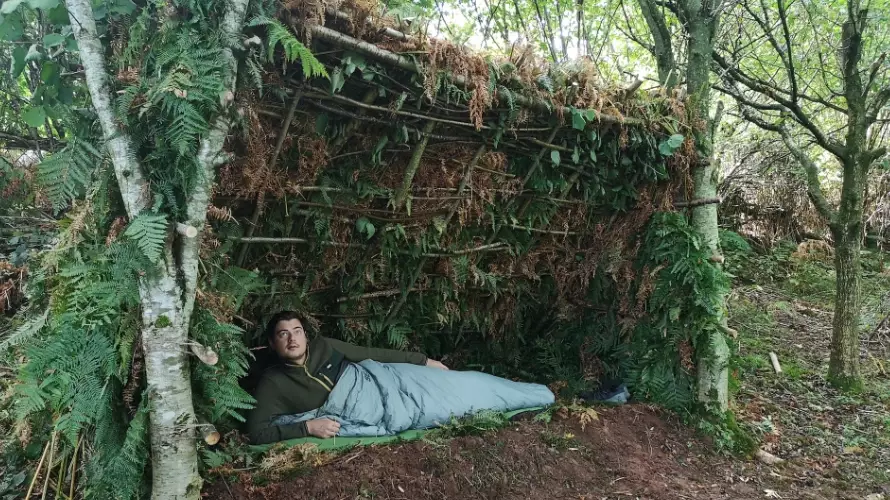 Is a debris hut from survival shows actually viable?
Viable for survival, yes. Practical or comfortable, almost never. They take 4-8 hours of constant work to build properly, require specific materials (long, straight ridge pole, tons of leaf litter), and are notoriously damp. In a real emergency, your energy is better spent making yourself visible for rescue and maintaining core temperature with a simpler windbreak and ground insulation.
My tarp shelter always seems to have a loose flap that makes noise. What am I doing wrong?
That's usually a tension problem on the panel opposite the flap. Sound travels across the tight fabric. Go back to your diagonal tensioning method. Also, check if your ridge line is perfectly centered. If it's off by a few inches, one side will be looser. Sometimes, adding a mid-panel guyline (a "pull-out") on the noisy side is the quickest fix.
Can I use a tarp as a groundsheet under my tent?
You can, but you must tuck the entire edges of the tarp completely under the tent footprint. If any part of the tarp extends beyond the tent walls, rain will hit it, run underneath, and pool under your tent floor. It's a major cause of wet tents. I often skip the separate groundsheet and just rely on the tent's built-in bathtub floor if the site is well-chosen.
 The real skill in camping shelter building isn't memorizing knots or configurations. It's learning to read the land and the weather, then adapting your knowledge on the fly. Start in your backyard. Practice in the rain. Fail when the stakes are low. That experience—the muscle memory of tying a hitch in the dark, the eye for a subtle drainage ditch—is what turns a camper into someone who can create a safe, dry home anywhere.